When it comes to laying a new patio, preparation is key. It can be time-consuming work to ensure everything is at the correct level, but it’s well worth it! Using a laser level can help save you some of that time and improve the accuracy of your project. We’re here to tell you how.
How level should a patio be?
The obvious answer here might be completely level. No one wants a wobbly chair when trying to enjoy a glass of something out on the patio! But it’s not quite as simple as that. If your garden is on a slope, for example, you’ll need to consider how to integrate a patio within that (tip: you may be better off with decking).
However, for most people, you will be trying to create something as level as possible – with one major consideration – drainage. In fact, what you should probably be working towards is a very gentle slope away from your house to avoid rainwater puddling or flowing towards your home and causing a damp problem.
As an industry-standard rule of thumb, you should be aiming for a ratio of 1:80. If your patio runs for 6m from the house, divide that 6m by 80, giving you 7.5cm – and that should be the difference in height between the top and bottom of your patio. Not enough to tip your drink over, but enough for rain to flow away.
Which laser level to choose?
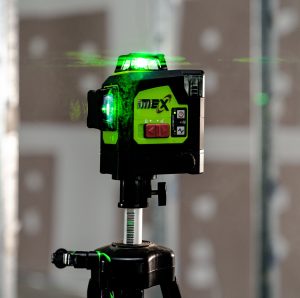
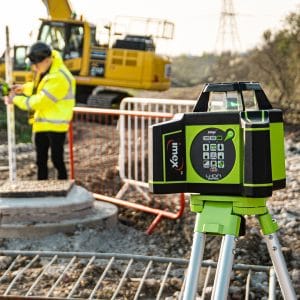
Rotating laser levels are often the tool of choice for professionals working on outside and landscaping projects, and they are an excellent choice, sending out a steady beam covering a full 360-degree horizontal plane. However, they do tend to be more expensive and may be overkill for a small domestic patio task, where you could manage with a line laser.
For a patio project, we recommend using your laser level in conjunction with a detector, with red and green lasers working equally well. Always looks for a self-levelling laser.
Using a laser level for patios
For this walkthrough, we’ve made a few assumptions:
- Size-wise, this is a domestic patio
- We’re using a self-levelling rotating laser (as the very best tool for the job – for example, the Imex E60 Rotating Laser Level.
- We’re aiming for a “flat” patio with no steps or steep gradient, just the fall needed for drainage, which you have already calculated (see above)
- The patio is being built square to the back of a house
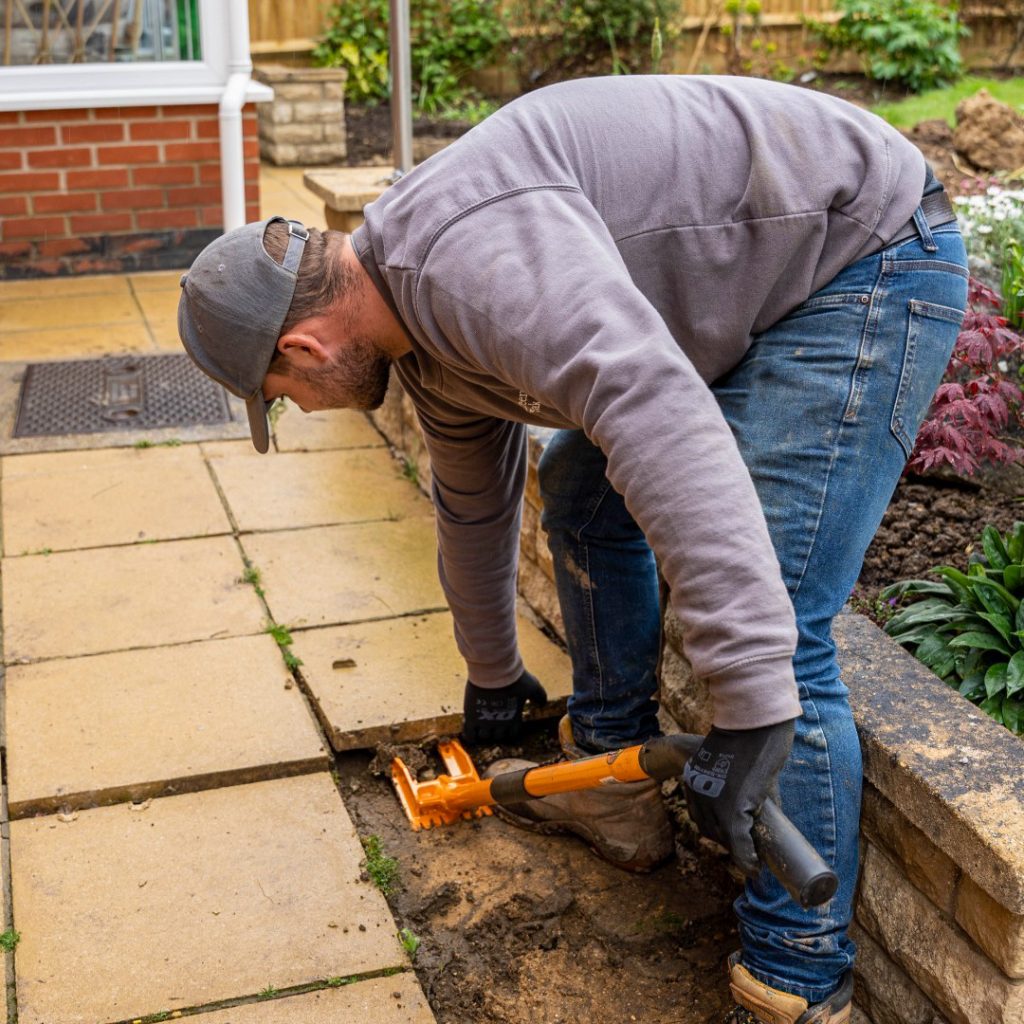
- These steps are to help create the level foundation for your patio. If the foundations are level, the paving slabs should be level.
A step-by-step guide to laying out your patio using a laser level
- Set up your laser level on its tripod on stable ground in the centre of your work area
- Switch it on and make sure it is on self-levelling mode, giving it time to level
- Identify a point in the top corner of the patio, by the house, which is at the desired height – this should be below the damp proof course, allowing for a sensible step down from the house
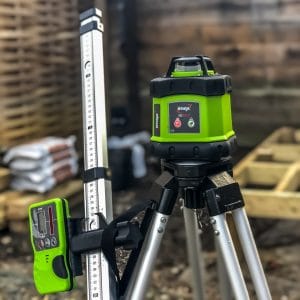
- Attach your laser detector to your grade rod/staff (a stick with measurements on it which should come with your rotary laser level)
- Stand the bottom of your staff at the point you identified and move the detector up and down the staff until it indicates that you’re level with the laser. This will usually be a solid beep. Secure your detector at this height.
- The bottom of the staff is now the level you want across the top of your patio’s foundations, so move the staff along the back of the house marking the correct level (the bottom of the staff) on the bricks with chalk as you go. You may find you need to lift the staff up or dig down a little to connect with the laser and get this even line. You can either join these points with a line or string to create a baseline.
- Next, you need to transfer the level from the house to the far end of the patio, taking into account that fall for drainage. So, move the detector from its current point up the staff by the fall depth you’ve already calculated. The staff has marks in 1 cm intervals so makes this much easier.
- At the far end of the patio, again, the bottom of the staff represents the correct level, so you may need to lift it off the ground or dig down to achieve that solid beep showing the laser has been detected at the correct height. Use stakes in the ground at intervals along the back line to mark this correct level – in line with the bottom of the staff
- Again, join these points using a string. You can then join the points along the house wall with the points at the far end using string to mark out the entire, very gentle, slope at several intervals. You then need to lay your patio foundations to this level throughout.
And that’s that. Get this bit right, and the rest should follow (although you could use one of our digital spirit levels to help get those slabs spot-on). For a great, practical look at how to use a rotating laser level, demonstrating our Imex E60 Rotating Laser Level, here’s a video from our friend Stewart at Proper DIY:
You can view our full range of rotating laser levels here. They all come as standard with the laser detector, and can also be purchased as a kit with the tripod and staff.